Continuous Integration (CI) in the practice of automatically building and testing software every time a change is made. In the last decade I don’t think I’ve worked on a single professional project that didn’t have a Continuous Integration system set up. Why?
- Prevents “it builds on my machine”. If the project has a unusual set of requirements or build system then being able to build it in a “clean” environment means that you can be sure that everything needed to build the project is specified.
- Helps ensure you always have a working product. If something gets broken you know immediately that something needs fixing and you know the change that needs to be fixed. If you’ve ever had to spend hours (or days) working your way through all the changes since a last “known good” build then you’ll understand the value of this!
- Helps teamwork. When members of a team are working on different features, you want to know as early as possible if their changes are going to conflict.
Those advantages apply to open source projects too!
These days one of the first things I do with a new project is set-up the build system. It’s tempting to get by with just building in your IDE, but for anything except a throwaway project or quick proof of concept, that’s normally a bad idea as you won’t know if your software builds because of a particular setup or installed plugin until someone else tries to build it. If someone can’t build your project easily they’re unlikely to contribute.
The part of “The Social Robot” that runs on NAO, let’s call it the “body” application, will need to use native (compiled) code for performance. Building native code to run on NAO is a bit painful as it requires a custom toolchain. The easiest way to setup a toolchain to cross-compile for NAO is to use custom Aldebaran software called “qibuild”.
Setting up a qibuild toolchain is a bit of a faff. We can use docker to provide a build environment that works for anyone. Finally, we’ll use GitHub Actions to automate the build so that every commit to the GitHub repo builds our body application.
Manual NAO cross-compilation setup
I’m not going to explain qibuild in much depth, if you’d like to know more you can find the official documentation here. Thankfully, qibuild does not implement a totally custom build system, but is a wrapper around CMake. qibuild has the concepts of projects and worktrees. Basically, a worktree is a container for projects. A “toolchain” is the configuration and set of libraries needed to build a project for a particular target. As far as NAO is concerned there are two targets: developer workstations and the NAO robot itself. NAO version 4 and later use an Intel Atom processor which means that although it’s IA-32 it won’t have the same instructions available as a modern desktop (IA-64). Also the libraries installed on NAO are quite old and so likely different versions from a modern Linux distro.
We need to install qibuild, set up our worktree and project and configure the toolchains in order to build our application.
Unless, you’re feeling particularly keen, you don’t need to do all these steps - just use the docker image I’ll describe in the next section!
Installing qibuild
It’s good practice to use python virtual envs to keep requirements for different projects separate. I use pyenv to manage my python installations, so I ran the following to create and activate a new virtual env:
1
2
pyenv virtualenv 3.9.6 the-social-robot
pyenv activate the-social-robot
or if you prefer the built-in python virtual env:
1
2
 python -m venv the-social-robot
 source the-social-robot/bin/activate
You can then install qibuild using pip:
1
2
python -m pip install --upgrade pip
pip install qibuild
Configuring the qibuild worktree and project
If you’ve cloned the repo then you shouldn’t need to do this.
First create a worktree:
1
qibuild init
Then create a project called “body” in that worktree:
1
2
3
qisrc create body
qibuild configure body
qibuild make body
Setting up the toolchains
Now it gets a little annoying as you need to download the NAOqi SDK from the SoftBank Robotics downloads page: https://www.softbankrobotics.com/emea/en/support/nao-6/downloads-softwares/. Note that the latest NAOqi release only works on the latest NAO (v6). I have a NAO v4 (actually a v3 body with a v4 head) and a NAO v5 which means the latest version of NAOqi I can install on the robots is 2.1.4.13. Once you’ve downloaded the SDK and the cross-compilation SDK you need to tell qibuild about them.
For desktop:
1
2
qitoolchain create naoqi-sdk /path/to/cpp/sdk/toolchain.xml
qibuild add-config naoqi-sdk --toolchain naoqi-sdk
For robot:
1
2
qitoolchain create cross-atom /path/to/ctc/toolchain.xml
qibuild add-config cross-atom --toolchain cross-atom
You should then be able to build the “hello world” app created by qisrc
For desktop:
1
2
qibuild configure -c naoqi-sdk body
qibuild make -c naoqi-sdk body
For robot:
1
2
qibuild configure -c cross-atom body
qibuild make -c cross-atom body
I’m not sure if qibuild configure is required every time you change toolchain or just on first setup.
Building NAO applications in a docker container
Luckily, you don’t have to do all the above steps! docker containers provide isolated and predictable environments to run software in so let’s take advantage of that to build a container image so we never have to setup qibuild again!
I’m going to assume you know how to build and run docker containers. If not, take a look at the getting started docs.
TL;DR
1
docker pull thesocialrobot/naobuild:main
Here’s the Dockerfile that automates the steps from the last section:
1
2
3
4
5
6
7
8
9
10
11
12
13
14
15
16
17
18
19
20
21
22
23
24
25
26
27
28
29
30
31
32
33
34
35
36
37
38
39
40
41
42
43
44
45
46
47
48
49
50
# syntax=docker/dockerfile:1
FROM python:3.9.6-slim-buster

RUN apt-get update && apt-get install -y \
    build-essential \
    ca-certificates \
    cmake \
    curl \
    software-properties-common \
    unzip \
    wget \
    && rm -rf /var/lib/apt/lists/*

RUN python -m pip install --upgrade pip

RUN pip install qibuild

# don't want to run as root
RUN useradd -rm -d /app -s /bin/bash -u 1001 builduser
RUN mkdir /opt/toolchains
RUN chown -R builduser /opt/toolchains
USER builduser
WORKDIR /app

# fix path so qibuild is available later
ENV PATH "$PATH:/usr/local/bin"
RUN echo "export PATH=${PATH}:/usr/local/bin" >> /app/.bashrc

# NAOQI SDKs
WORKDIR /opt/toolchains
RUN wget -q https://the-social-robot.s3.eu-west-2.amazonaws.com/nao-2.1.4.13/naoqi-sdk-2.1.4.13-linux64.tar.gz && \
    tar -xf naoqi-sdk-2.1.4.13-linux64.tar.gz
RUN wget -q https://the-social-robot.s3.eu-west-2.amazonaws.com/nao-2.1.4.13/ctc-linux64-atom-2.1.4.13.zip && \
    unzip -q ctc-linux64-atom-2.1.4.13.zip

WORKDIR /app
# qibuild setup
RUN qibuild init

# desktop toolchain
RUN qitoolchain create naoqi-sdk /opt/toolchains/naoqi-sdk-2.1.4.13-linux64/toolchain.xml
RUN qibuild add-config naoqi-sdk --toolchain naoqi-sdk

# robot (cross-compilation) toolchain
RUN qitoolchain create cross-atom /opt/toolchains/ctc-linux64-atom-2.1.4.13/toolchain.xml
RUN qibuild add-config cross-atom --toolchain cross-atom

# place to checkout code in and build
RUN mkdir /app/build
WORKDIR /app/build
Given the recent turmoil about Softbank Robotics Europe / Aldebaran I wasn’t sure whether I could count on the downloads page being available long-term so I’m downloading the toolchain binaries from an S3 bucket for now.
qibuild stores its configuration in the per-user ~/.config/qi directory so when using the docker container we need to run our build as builduser as configured above.
GitHub Actions defaults to running docker containers as user ID 1001 so in order to avoid permissions issues, I’ve used 1001 as the ID for builduser.
You can find the complete Dockerfile in the NAO build repo and the pre-built images on docker hub.
Using GitHub Actions to automatically build the application
Now we have a docker container we can use for repeatable builds we can setup a Continuous Integration system. There are several systems that are free for open source projects, but I’m going to use GitHub Actions since it’s built-in to GitHub.
We need two build pipelines:
- one to build the docker container image and push it to dockerhub
- another one to build the application in the docker container
I could configure GitHub actions to do everything in a single build pipeline, but it’s convenient to have the docker container separated out so I can use it locally on my machine and for other NAO projects. It’s also going to be faster than having to run the full qibuild configure process every time.
Building the docker image
GitHub Actions looks for build workflows in the .github/workflows directory at the top-level of a repo. Workflows are written in YAML format. You can find the complete workflow for this [here]https://github.com/TheSocialRobot/NaoBuild/blob/main/.github/workflows/docker-image.yml). In order to make the image easily available I want to push it to dockerhub. The steps are configure the workflow, checkout the code, setup the docker build environment, login to dockerhub and finally build and push the image. Docker provides actions to make this very easy indeed.
Setup the workflow to run a sequence of actions on a Ubuntu worker on every push to main:
1
2
3
4
5
6
7
8
9
10
11
name: Build build image

on:
  push:
    branches:
      - 'main'

jobs:
  docker:
    runs-on: ubuntu-latest
    steps:
Checkout the code:
1
2
      - name: Checkout
        uses: actions/checkout@v3
Setup the docker build environment:
1
2
      - name: Set up Docker Buildx
        uses: docker/setup-buildx-action@v2
Login to dockerhub. I don’t want to expose my dockerhub credentials to the world so they are configures as secrets on the repo:
1
2
3
4
5
      - name: Login to DockerHub
        uses: docker/login-action@v2
        with:
          username:  ${{ secrets.DOCKERHUB_USERNAME }}
          password:  ${{ secrets.DOCKERHUB_TOKEN }}
Build and push the image:
1
2
3
4
5
6
      - name: Build and push
        uses: docker/build-push-action@v3
        with:
          push: true
          tags:   ${{ steps.meta.outputs.tags }}
          labels:  ${{ steps.meta.outputs.labels }}
There’s also another step to set the tags used for the image which I’ve omitted above as I still need to get it working with semantic versioning.
Looking on the “Actions” tab of the “NaoBuild” repo and clicking on a particular run, you can see that each step succeeded:
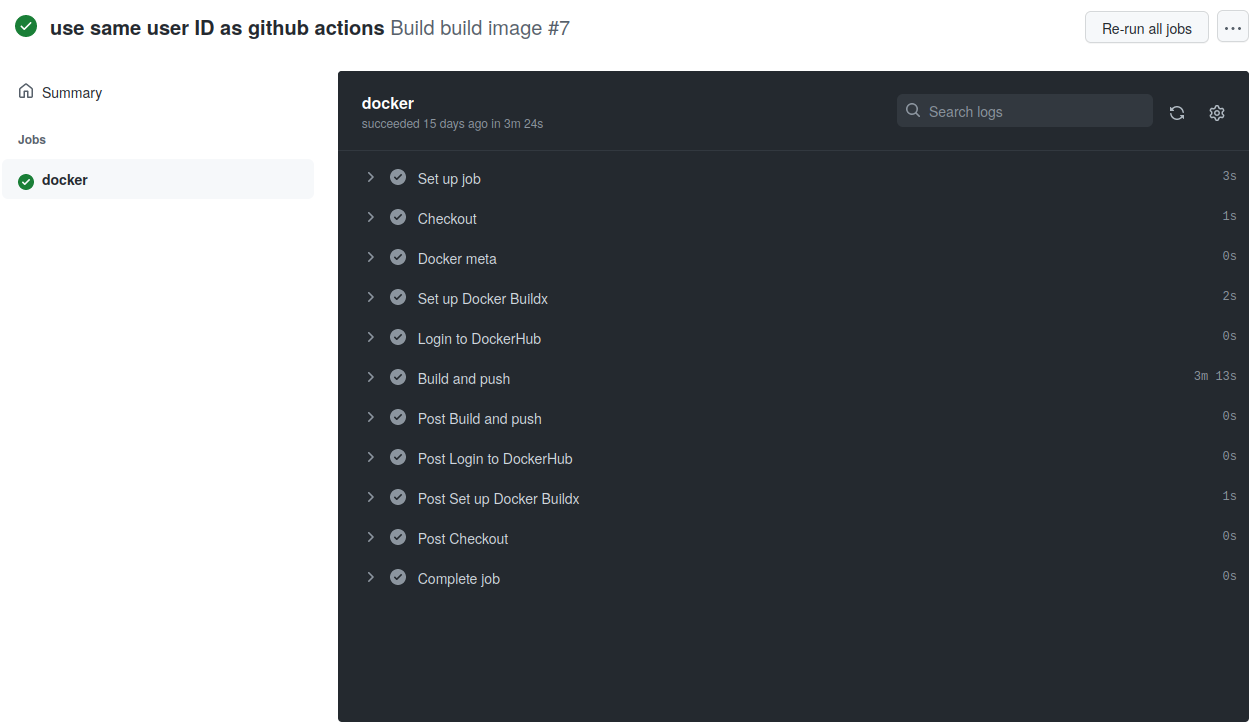
If you get something wrong, or a workflow step fails then GitHub shows you exactly where the failure is:
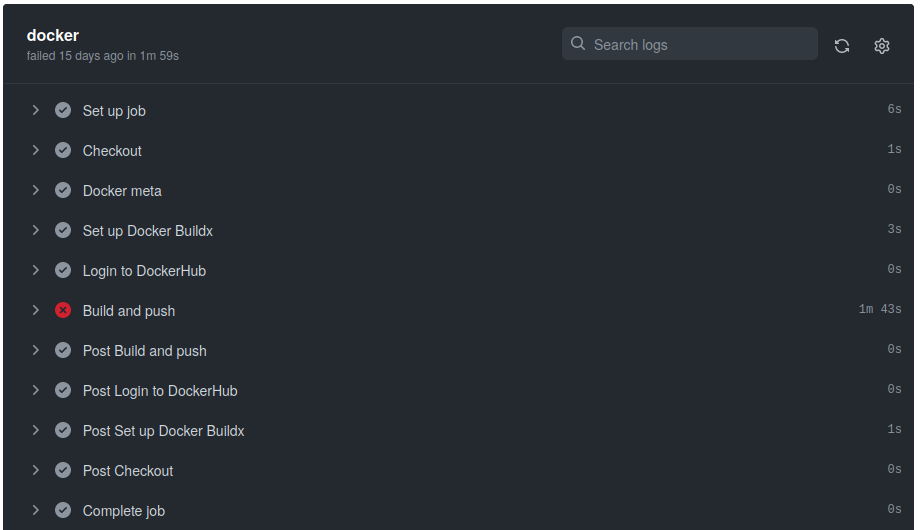
You can click on any step to see more information including the output of the command(s) run.
Building the application
There isn’t an equivalent place to dockerhub for random binaries (I suppose I could upload them to S3) so I’ve opted, for now, to make the build output available as artifacts of the build, so they can be easily downloaded. As for the docker image I need to checkout the code and then the steps to build the application and save the output are pretty much identical for the 2 toolchains. I’ve created simple scripts make-desktop.sh and make-robot.sh so I don’t have to remember the qibuild commands when running manually so all the action needs to do is run those scripts and save the output.
Build a configuration:
1
2
3
    - name: Build desktop
      shell: bash
      run: ./make-desktop.sh
Save the output:
1
2
3
4
5
    - name: Archive desktop build output
      uses: actions/upload-artifact@v3
      with:
          name: desktop-binaries
          path:  ${{ format('{0}/{1}', github.workspace, "body/build-naoqi-sdk/sdk/bin") }}
You can see the artifacts available for download for each GitHub Actions run on the “Actions” tab of the repo.
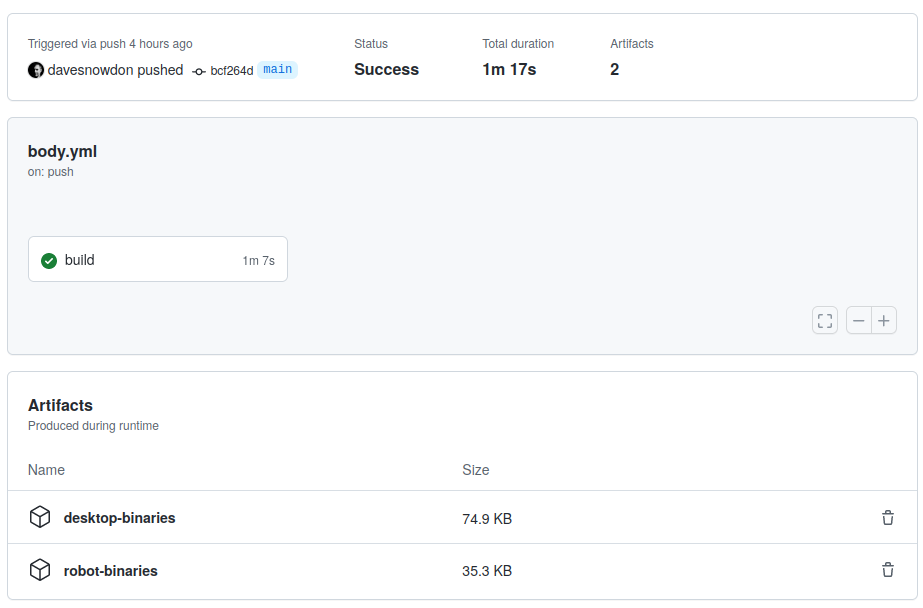
You can find the complete workflow to build the application here.
Next steps
The next post will be non-technical and will cover kuki.ai
Comments powered by Disqus.